
Onboarding & Registration
Last updated: 2026-04-13
This guide walks you through registering as a Rixa partner and getting your business live on the platform.
Registration
Download the Rixa Partner app or open the backoffice in your browser. Registration takes three quick steps.
Step 1: Enter your phone number or email address.
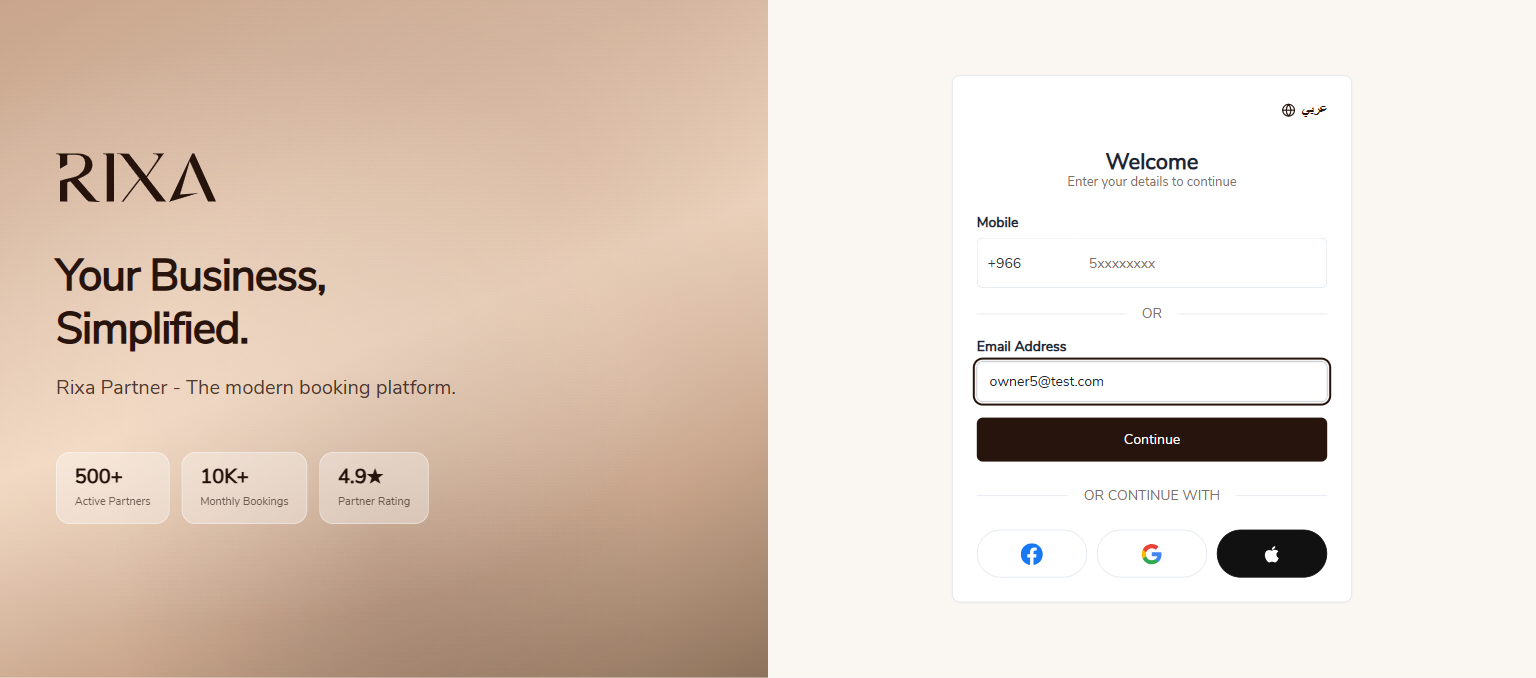
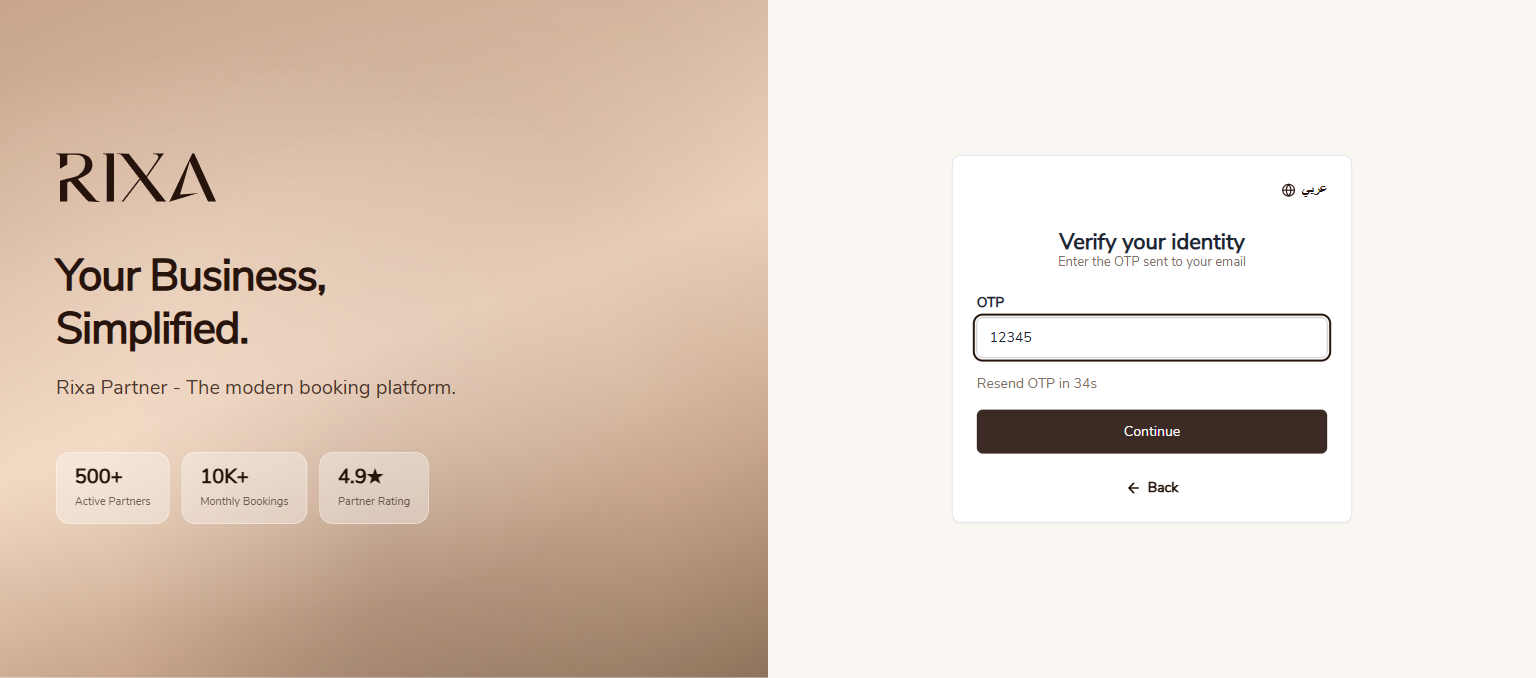
Step 2: Verify with the OTP code sent to you.
Step 3: Provide your business name and business type (Salon or Professional).
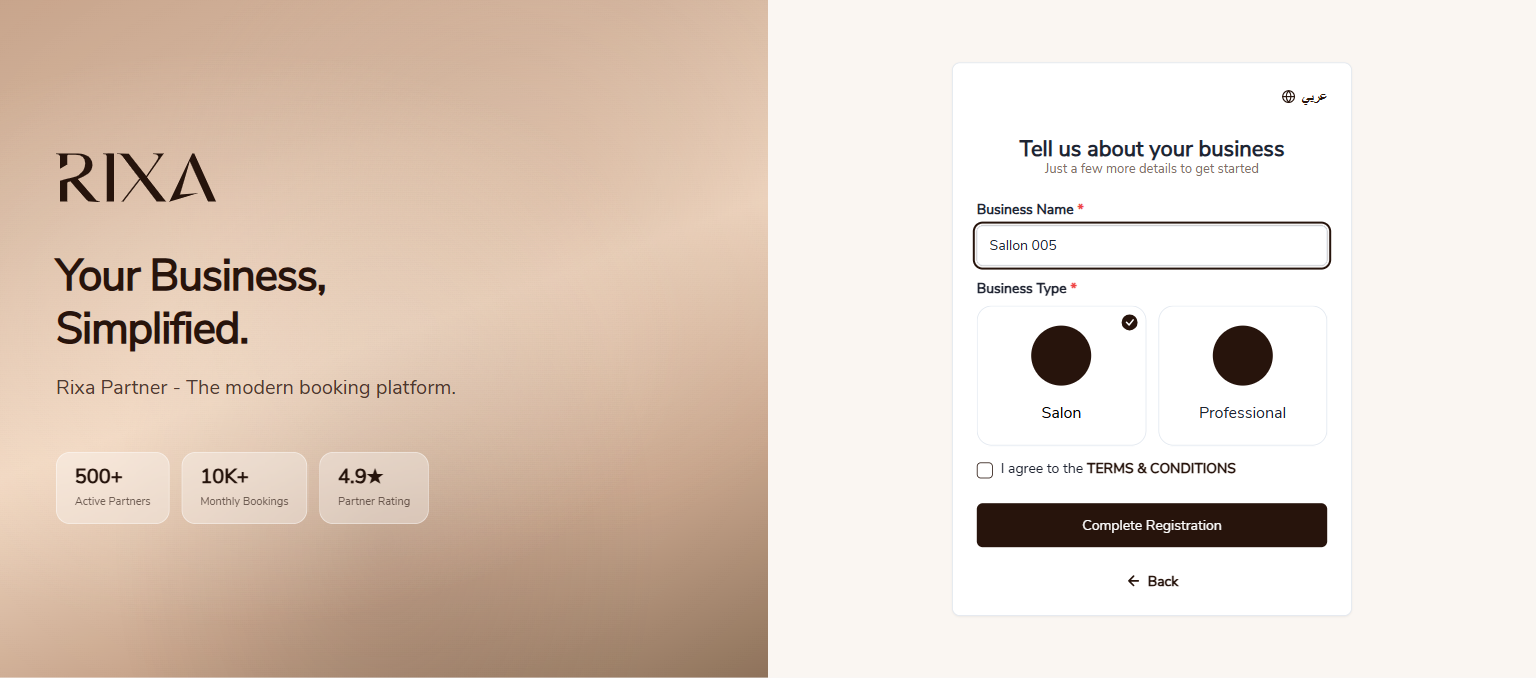
That is it. You now have an account and land directly on the onboarding wizard.
The Onboarding Wizard
After registration you see a welcome screen with two options: Complete Onboarding (recommended) or Explore the System first.
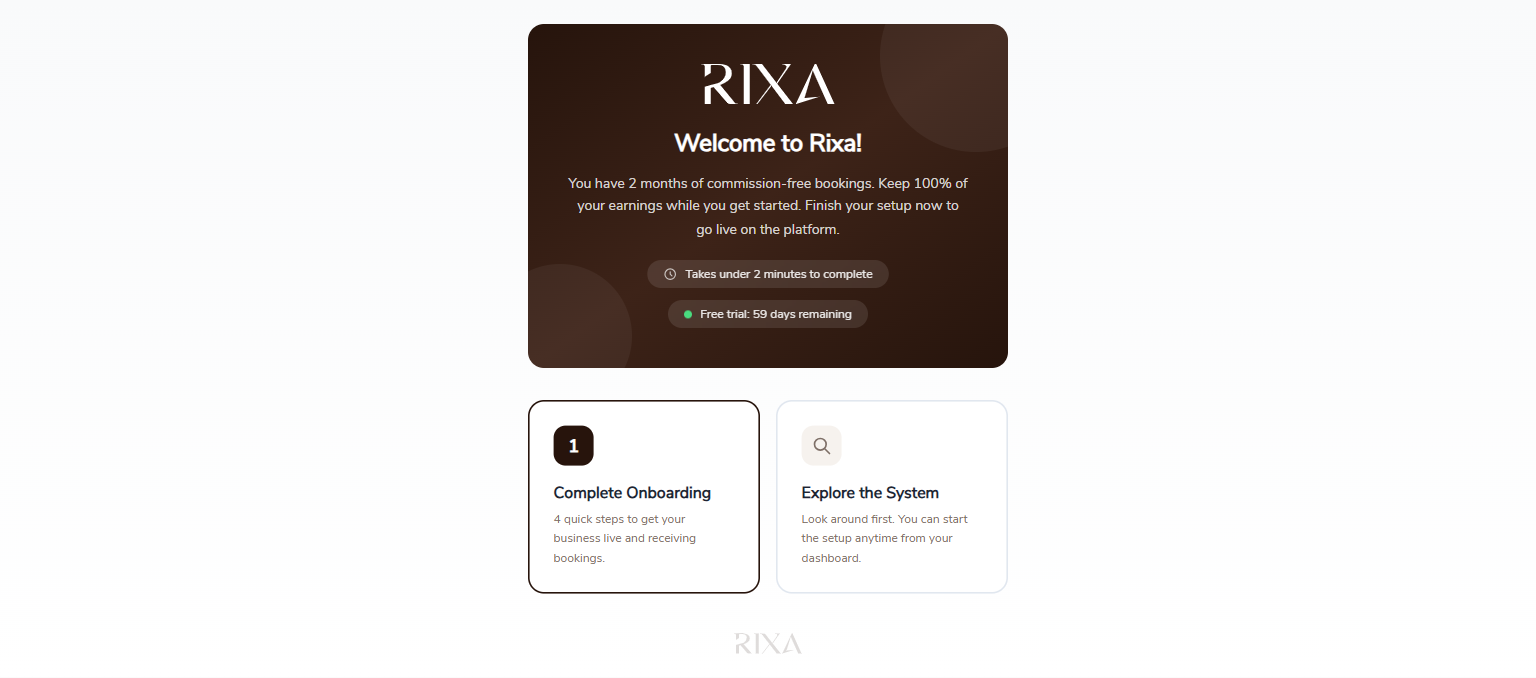
Choosing Complete Onboarding opens a 4-step wizard that walks you through everything needed to go live.
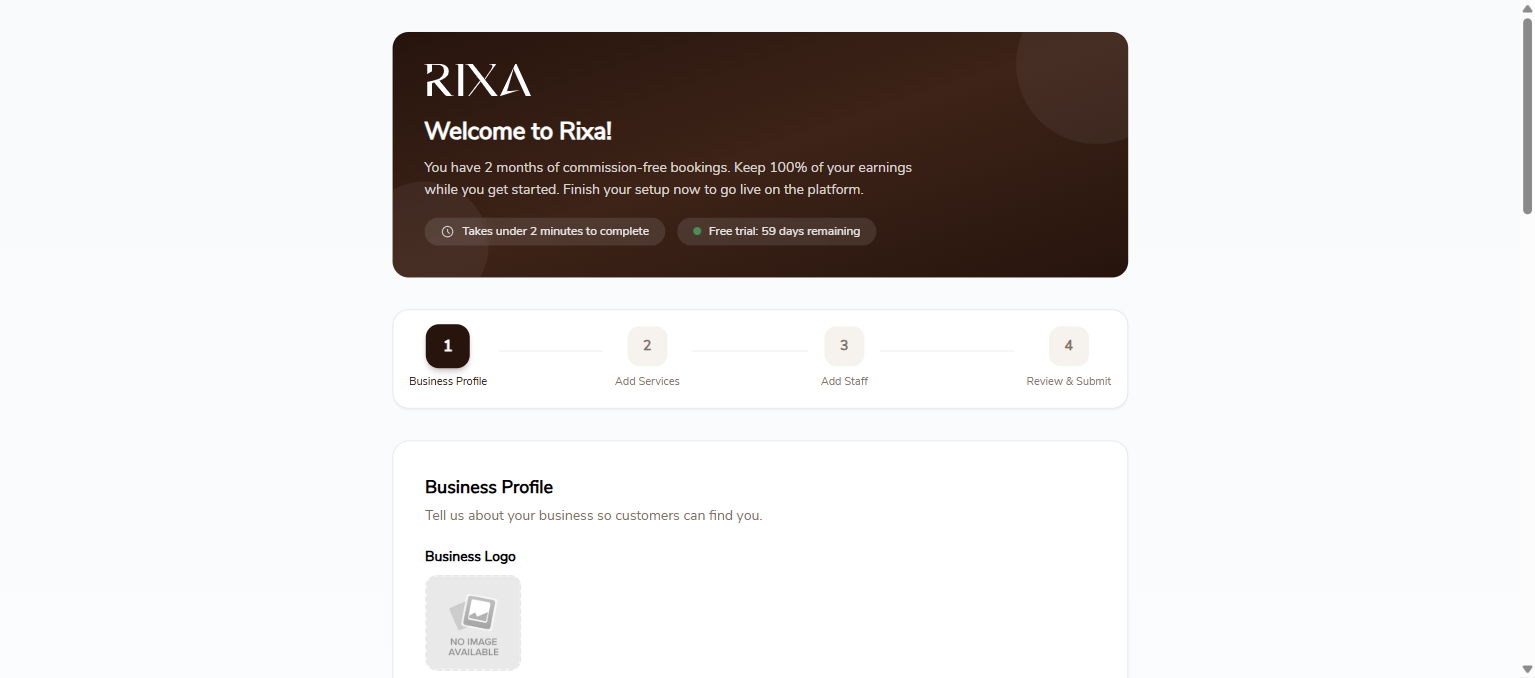
Step 1: Business Profile
Fill in your business details.
- Business name in English and Arabic
- A short description of what you offer
- Upload your logo
- Set your location. Salons enter a full address. Freelancers only need to pick a neighborhood.
- Working hours. These are pre-filled with sensible defaults from registration. Adjust them if needed.
Step 2: Add Services
You have two ways to add services.
- Quick Add — Browse the Rixa service catalog, select categories that match your business, then toggle on the services you offer and set your pricing. This is the fastest way to get started.
- Manual Add — Create a service from scratch with a custom name, description, price, and duration.
You can add as many services as you like. You can always add more later from the main Services page.
Step 3: Add Staff
If you are a freelancer, tap "I'm the only staff member" and you are done. One click.
If you run a salon or team, add each staff member with their name, the services they perform, and their shift schedule.
Step 4: Review and Submit
This step shows a summary of everything you entered. Review it carefully.
- Salons need to provide a CR (Commercial Registration) number and upload the document.
- Freelancers do not need any documents at this step.
When everything looks good, tap Submit for Review.
Leaving and Returning to the Wizard
You do not have to finish the wizard in one sitting. Tap "Skip for now" at any point to exit. Your progress is saved.
To come back, look for the "Continue Setup" card on your dashboard. Tapping it takes you right back to where you left off. You can also navigate directly to /onboarding.
The wizard is state-aware. If you add services or staff outside the wizard (from the main app screens), the wizard recognizes that work and updates accordingly.
What Happens After You Submit
Your account status moves through these stages.
- Setting Up — You are still working through the wizard.
- Under Review — You submitted and the Rixa team is reviewing your application.
- Verified — Your application is approved.
- Live — Your business is visible to customers and you can accept bookings.
While your account is under review, you can still explore the full system. Set up more services, tweak your profile, get familiar with the dashboard. A persistent banner at the top reminds you that your account is under review.
Your dashboard shows a status card with your current progress and your trial countdown.
The 2 Months Free Trial
Your free trial starts the moment you register. You get two full months with zero commission on all completed bookings. The countdown is shown on your dashboard so you always know how much time is left.
No plan selection is needed. All new partners start on commission-based pricing automatically.
Go-Live Checklist
Before you start accepting bookings, make sure you have completed the following.
- Business profile is complete with logo and description
- At least one service is added and published
- Working hours are set
- At least one staff member is configured
- Notification permissions are enabled on your phone